Showing posts with label Ruth. Show all posts

Thursday, 29 November 2018

Inspiration post...Bright Backgrounds

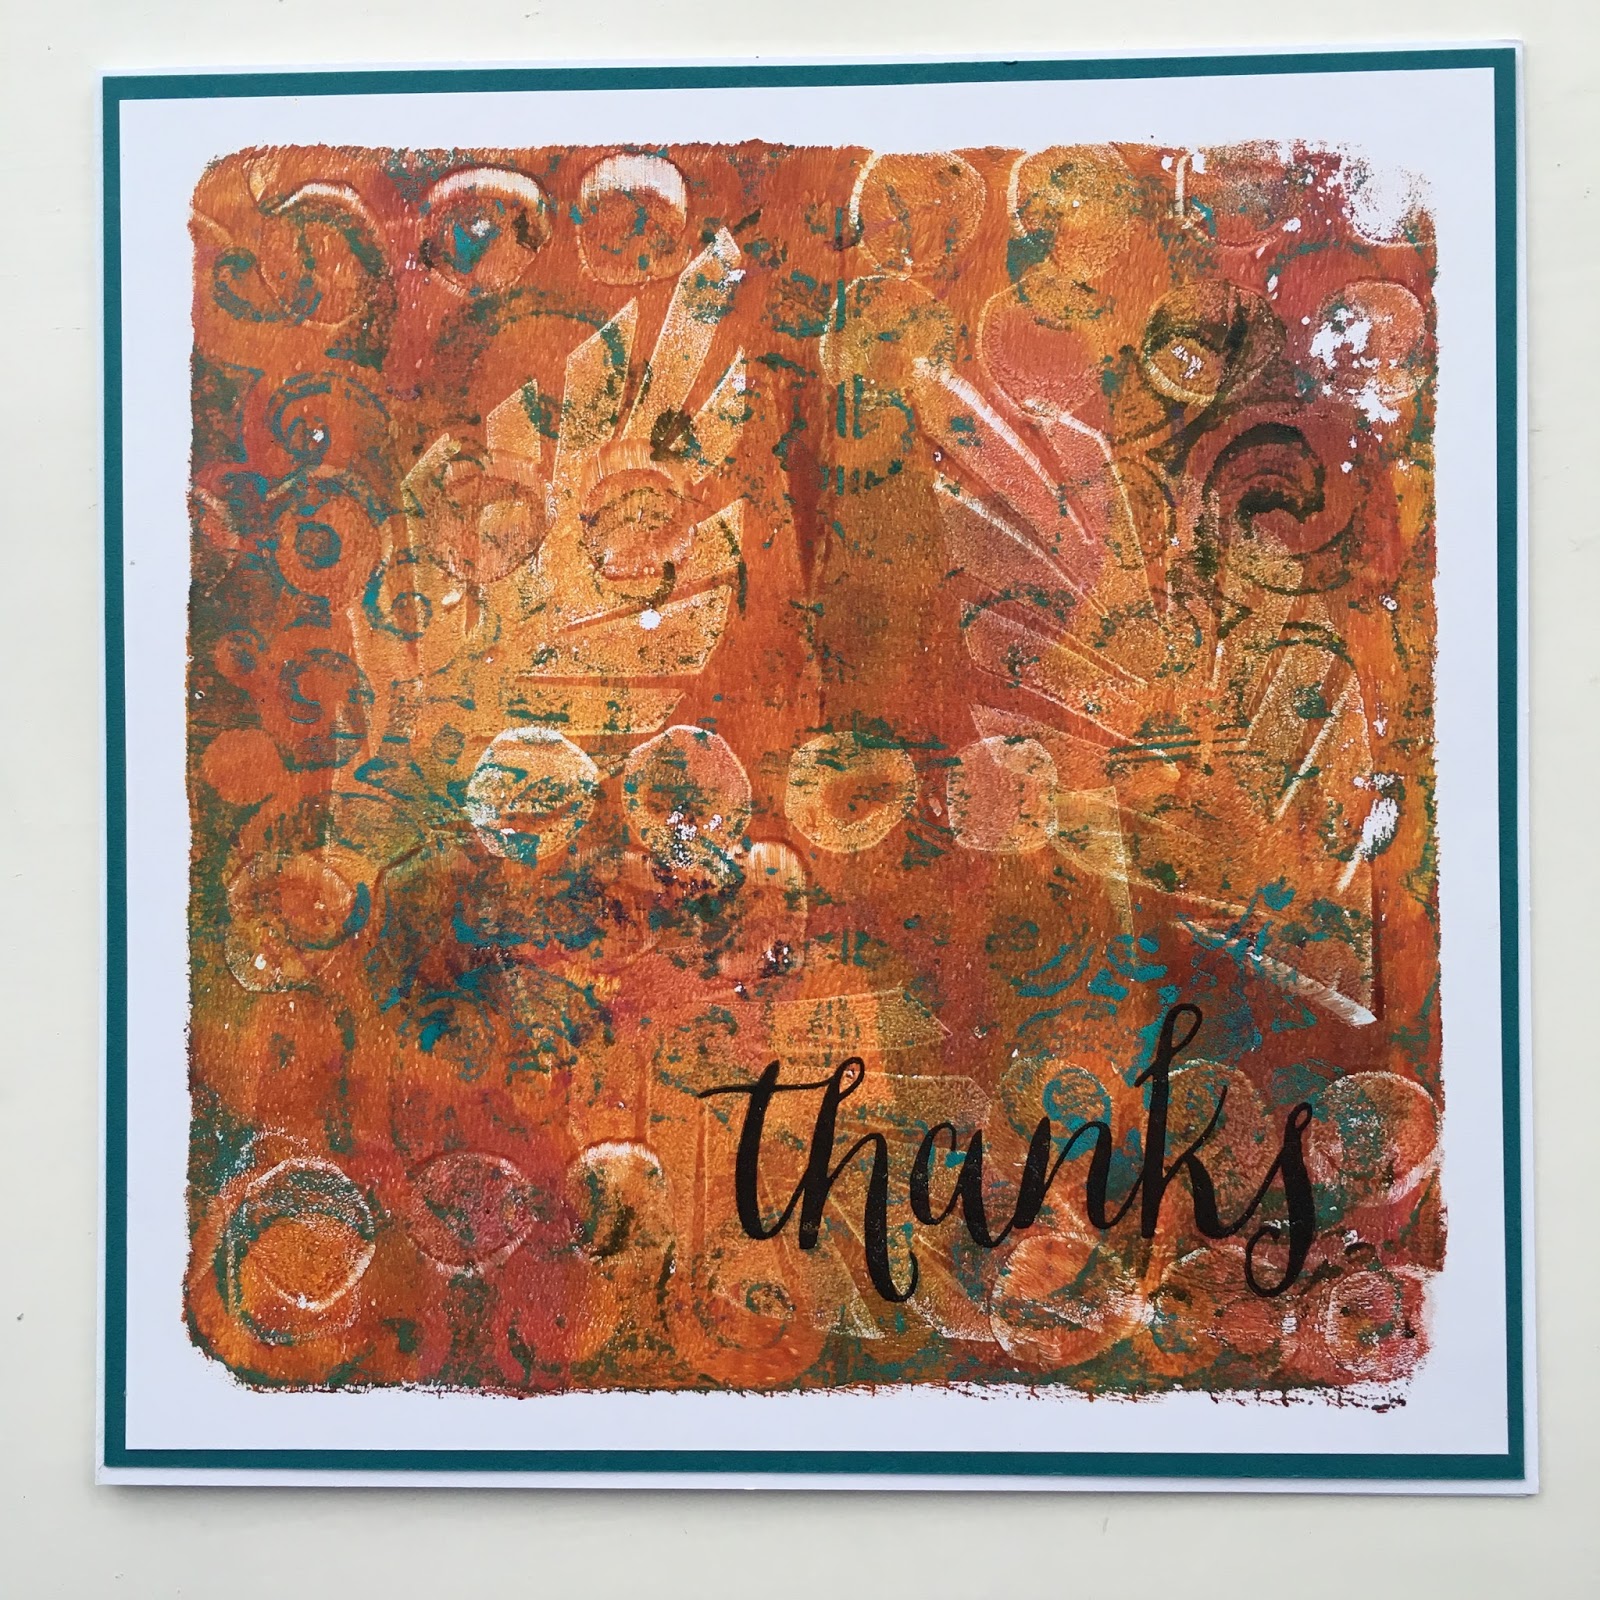
Hi everyone, Ruth here with this weeks Inspiration post. Keeping with the theme of Toni's challenge using bright colours I decided to seek out some of the really bright backgrounds from a Gelli printing session that were also a bit 'uninspiring' or 'not quite sure what I'm going to do with those' and use them to make some quick cards; with Christmas fast approaching they also have a seasonal take.


Firstly the Gelli prints


This one was a magazine print

One of my favourite Lynne Perella images and it's looking like a stormy sky.


Add in lots of star stamps, embossing powder and few white pen dots and dashes and you have fireworks or is it New Years Eve... 

...or maybe even a Christmas starry night


Next snowflakes and it's definitely Christmas, super quick with simple embossing 'sparkling snow'


Lastly a wintry theme which could be a journal page, December birthday card or yes Christmas card, I've used stencils, stamps, embossing powder, platinum crackle paste and die cuts.

Gelli prints can give such gorgoeus colour ways

Lovely Alison bomber quote, hoping you can see the crackle and I've used 'silent night' embossing powder. (All embossing powders were by WOW).

Hopefully that's brought a little brightness into dull, dreary November days. Still time to join in with our challenge. Ruth xx

Thursday, 13 September 2018

Inspiration Post - Sun Prints

Hi everyone, Ruth here this week experimenting with a 'Sunprint Kit' that I've had for a while and just never got around to using until now. The kit contains photosensitive paper (cyanotype) which you expose to light. The resulting images can then be used in a number of ways and as this months challenge is 'Anything Goes' I thought it would be a perfect opportunity to dabble.


The kit is fairly readily available and comes in a variety of sizes and the one I've used is the smallest 10x10 cm. It's great fun for children and suitable for 6 years and over...so I thought I would be safe to be let loose with it!


It's so simple, card + paper + object + expose to sunlight and you can use a negative or a 3D object. Here in the UK we have had a glorious summer and I wanted to preserve some of the lovely foliage and flowers that have bloomed in the garden. Yes it took a little experimenting as the sun was so bright I overexposed some of the papers and also wasted one as I didn't separate 2 of them...but got it down to a fine art by the end, 1 minute! Once exposed you rinse in water and dry the paper.


All 12, 'disasters' included. Some images were very crisp as I used sunlight through a window, but some wafted a bit when I tried leaving them outside but I really liked the variety achieved. So how to use them?


I've recently inherited a huge pack of index cards which I'm really pleased about as I've seen a few challenges recently using them. I scraped glass blue and venice blue fresco paint on to a card.


I brayered some tango paint on and knocked back with snowflake paint.


Stamping and texture paint through a stencil, vintage book paper and stitching, also some of the Tyvek lace I created for this months challenge piece.


Trim the print and add a little more stitching, first piece finished.


For the card I wanted to echo the blue again and returned to one of the first techniques I ever tried, versamark stamping and mica powders.


I hope you can see the lovely shimmer, I decided to use one of Lin Browns grasses stamps as a background and keep the decoration simple.


I also used a kraft IC on this card, a little stamping, stitching and silver paint splashes....to be honest they are more like blobs as the paint was far too thick but I rather liked the effect....happy accident.


I know there are other supplies such as toners for fabric and paper if I wanted to step it up a notch but I'm happy enough with these results. I hope you've enjoyed my first experiments and as it's an anything goes challenge, dig out something you've had for ages and just have a play, we'd love to see what you create and there's plenty of time to join in. Ruth x

Thursday, 5 July 2018

Ombré!

Hi everyone Ruth here with this months challenge of  'Ombré' .... here's what I want you to do.

Ombré has been in fashion for a while now and not just in art...or even hair! It's a french word meaning 'a colour that is shaded or graduated in tone'...so for this challenge we want to see projects or part of your project that has one (or more) colour that graduates from it's lightest pastel tint to its darkest shade...got that?? simple...ooh and with a little stamping or stenciling of course! Let's have some inspiration from the talented team to get you started! 


Ruth


Rachel


Cec


Sue


Toni


Thursday, 28 June 2018

A few of my favourite things..

Hi, Ruth here to tell you a little bit more about my creative self and share some of my favourite projects. I can't remember a time where I haven't created in some way, any talents I have came from my very creative mum. Although I dabbled in sugarcraft for many years and frequently touch bases with sewing, knitting etc my enduring love for many years now has been inky, painty, mixed media messing!

I'm quite eclectic in my tastes, never sticking to one style, at home as much with vintage, shabby chic, grungy or modern and a soft neutral palette or eye popping colour and not forgetting my love of clean lines and white space.

The first piece I'm sharing is my hands down favourite piece, this is the piece I will rescue if there is a fire! I made it a few years ago in 2015 now when I was lucky enough to get to do a '3UP' post for PaperArtsy; you'll have to read the post to find out what '3UP' means but it has clean lines, white space, a limited colour palette and working in miniature....it just came together and I think it still looks fresh....maybe in another few years something else will take its place but so far it's stood the test of time for me.

Dinky Dominoes

Next we're going back a little further to 2014, the wooden mannequin was picked up in a jumble sale. I think it can be so rewarding to repurpose things and this is leaning towards vintage, uses metal, is 3D, has a sewing theme and used fabric...lots of favourite substrates and techniques here.


The Leftover Dress

 Sharing a tag and my love of foiling, the pressure is on when you're a 'wingie', the privilege of using new stamp designs and finding you're 'groove'. This leaf is still one of my favourite stamps.


Inspire Tag

Two more recent creations are an envelope journal and bobbin book, using my favourite Fresco paints, fab Seth Apter stamps and another  love...wonderful word plates from Alison Bomber.

Envelope Mini Album

Bobbin Book
Lastly before I sign off, I'm sharing a piece that holds a very special place in my heart. Vintage neutrals for people that know me is probably my favourite colour palette. My creative journey began with my mum and this was a piece I created at the beginning of my blogging journey.


I hope you've enjoyed revisiting or even seeing anew these pieces and in the process maybe they have inspired you to have a look back on your own creative journey. Ruth x

Thursday, 12 April 2018

Funky Foam Stamps and Gelli play

Hi, Ruth here with an inspiration post all about making your own foam stamps and using them with a Gelli or Gel Press plate. For those of you who might follow my instagram posts you'll be aware that I joined in with a daily challenge in March set by the very talented Birgit Koopsen. It was all about getting to know your Gelli plate following daily prompts.....I can highly recommend it, so many fab techniques and inspiring posts by other creatives. I definitely got hooked on using my Gelli plate and one of my favourite prompts was all about making your own foam stamps.


I used funky foam which had an adhesive backing and I got lots out of one sheet which cost about £1. I cut them freehand and found the organic nature of these very effective when using with a gelli plate, the 'rougher' the better. The first few I made I stuck to cardboard but then remembered I had some wooden blocks that I'd salvaged from old fashioned rubber stamps that I didn't use anymore so they got a new lease of life.


I also used some heat moldable foam which I've had for years.


I was so inspired I made a short video that I shared on instagram...it's less than a minute long (it has to be for instagram) and I thought I'd share it here.


I now have lots and lots of background papers that will form the basis of my cards this year...and I can't stop making even more papers. Here are a selection of them.


I also used another fab prompt on this one - egg boxes!


A tag this time, I love the way the foam removes some of the paint


Lovely mix of green paints on the Gelli plate


Once dried I added a thin layer of pearlescent green


before pulling the print.


Such a variety of prints


Another version using the leaf and circles stamps


These last 2 cards used the moldable foam impressions I made. First I enhanced the buttons theme


lastly I added some splashes of gold to this pearlescent painted paper.


I hope I may have inspired you to have a go at making some foam stamps..... and getting to know your Gelli plate is highly recommended!! There is plenty of time to join in with our 'In the Meadow' challenge this month and as always thanks for stopping by. Ruth x